Embarking on the journey of configuring your very first coolant system can be both thrilling and challenging. With the “Beginner’s Blueprint for Coolant System Configuration,” you’re about to transform what might seem like an intricate task into a manageable and successful project. This invaluable guide lays out a clear roadmap, giving you the knowledge and confidence to set up a coolant system that keeps your machinery running smoothly and efficiently. Whether you’re a DIY enthusiast or a budding mechanic, you’ll find this blueprint to be your go-to resource for all things related to coolant system setup.
This image is property of images.unsplash.com.
Understanding Coolant Systems
The role of the coolant system in engine performance
Your vehicle’s engine works hard and, in the process, generates a significant amount of heat. The purpose of the coolant system is to manage and dissipate this heat, ensuring that your engine operates within its optimal temperature range. A properly functioning coolant system is vital for engine performance as it prevents overheating, which can cause severe damage to engine components. It also helps maintain efficiency, reducing emissions, and improving fuel economy.
Types of coolant systems: Air-Cooled vs Water-Cooled
There are two primary types of coolant systems: air-cooled and water-cooled. Air-cooled engines rely on airflow, typically facilitated by fans, to absorb and carry away heat directly from the engine surfaces. These systems are simpler and can be lighter, but they are less common in modern automobiles due to limitations in cooling efficiency. Water-cooled systems, which are widely used today, employ a mix of water and antifreeze to absorb engine heat. The coolant absorbs the heat and then travels to the radiator where it releases the heat to the outside air.
Components of a typical coolant system
A typical water-cooled coolant system is made up of several components. The radiator is the system’s heat exchanger, where hot coolant releases its heat to the air passing through its fins. The water pump circulates the coolant throughout the engine and back to the radiator. Hoses and pipes connect the system components and allow for the flow of coolant. The thermostat regulates the temperature of the coolant by controlling its flow. Additionally, there are fans to draw air through the radiator, an expansion or overflow tank to accommodate changes in the coolant volume, and sometimes a heater core to use excess engine heat to warm up the vehicle’s interior.
The Importance of Coolant Fluid
Functions of coolant fluid
Coolant fluid, also known as antifreeze, plays a critical role in your vehicle’s cooling system. It absorbs heat from the engine and carries it away to the radiator to be expelled into the atmosphere. Besides heat transfer, coolant fluid prevents freezing in cold climates, raises the boiling point of the cooling system, and protects against corrosion within the engine and cooling components.
Types of coolant/antifreeze
Coolant comes in several types, each designed for specific engine types and materials. The three main types are Inorganic Additive Technology (IAT), Organic Acid Technology (OAT), and Hybrid Organic Acid Technology (HOAT). IAT is often green and is typically used in older vehicles. OAT coolants, often orange or dark green, are found in many newer models and are designed to last longer than IAT fluids. HOAT coolants are a mix of the two and may come in various colors like yellow or turquoise. Choosing the incorrect type can lead to engine damage and reduced performance, so it’s essential to refer to your vehicle’s manual to know the right one to use.
How to choose the right coolant for your system
Selecting the correct coolant for your vehicle involves checking the owner’s manual or consulting with a trusted mechanic. Different vehicles require different coolant formulations to protect against corrosion and to ensure compatibility with the engine’s materials. Aftermarket coolants will typically specify which types of vehicles or coolant systems they are suitable for, so always cross-reference this with your vehicle’s specifications.
Basic Principles of Coolant System Design
Balancing flow rate and pressure
Designing an efficient coolant system requires a balance between flow rate and pressure. Too much pressure can cause hoses and other components to fail, while too little can lead to inadequate cooling. Similarly, the flow rate must be enough to transfer heat effectively, but not so high that the coolant passes through too quickly to absorb heat or causes turbulence and air pockets.
Understanding coolant pathways
Knowing the paths that coolant takes through your engine is crucial for understanding how it cools different areas. The coolant typically moves from the pump, through the engine block and cylinder head where it absorbs heat, then on to the radiator to dispel this heat, and finally back to the pump. Along this path, there may be additional components, such as the heater core, which diverts some heat for in-cabin warming.
Maximizing heat exchange efficiency
To maximize efficiency, a coolant system must optimize the surface area where heat exchange occurs, ensure adequate airflow through the radiator, and maintain a consistent cooling fluid flow. The radiator’s design, the use of fans, and the choice of water pump all influence this efficiency.
Setting Up The Main Components
Installing the radiator
When installing the radiator, it’s vital to position it in an area with good airflow and away from excessive heat sources. Ensure it is securely mounted to prevent vibration damage and that there is enough space for inlets and outlets without kinking or compressing the hoses.
Mounting the water pump
Your water pump should be located near the engine’s lowest point to facilitate continuous coolant flow, especially when starting a cold engine. It must be mounted securely to prevent leaks and to ensure the pulley system driving the pump functions correctly.
Choosing and fitting fans
Fans help maintain airflow through the radiator when the vehicle is stationary or moving slowly. Choose fans that can move enough air for your engine’s heat output. Fans can be mechanically driven by the engine or electric, which are controlled by temperature sensors and the engine’s electronic control unit (ECU).
This image is property of images.unsplash.com.
Configuring Supplementary Components
Thermostats: Purpose and Placement
The thermostat regulates coolant flow based on temperature. It’s typically located between the engine and the radiator, and it opens to allow coolant to flow to the radiator when the engine reaches a certain temperature. Ensure it is installed in the correct orientation and that the sealing gasket is intact to prevent leaks.
Hoses, Pipes, and Connections
Coolant hoses and pipes must be rated for high temperatures and pressures. They should be fitted without sharp bends or kinks that could impede flow. All connections must be secure to prevent leaks, using appropriate clamps where necessary.
Overflow tanks and reservoirs
Overflow tanks collect excess coolant that expands from heat and recirculate it back into the system as necessary. Reservoirs serve as a filling point and help to remove air from the system. Ensure these components are appropriately sized for your engine’s capacity and securely installed to avoid spills or overheating.
Assembly and Installation Tips
Sequential steps for assembling the coolant system
When assembling your coolant system, start by installing the water pump, followed by the mounting hardware for the radiator and fans. Next, connect the radiator and engine with hoses, ensuring secure, leak-free connections. Install the thermostat and, finally, the overflow tank and reservoir. Carefully follow any specific instructions from component manufacturers or your vehicle’s service manual.
Precautions and common mistakes to avoid
Common mistakes include not using the correct coolant type, over-tightening hose clamps, and not properly bleeding the system of air. Take care not to damage components during installation, and always double-check that connections are tight and secure.
Tools required for installation
You will need a variety of hand tools, such as screwdrivers, wrenches, and pliers. A funnel is helpful for adding coolant, and a drain pan is necessary for capturing old coolant. You might also need a torque wrench to ensure bolts are tightened to the manufacturer’s specifications.
This image is property of images.unsplash.com.
Testing for Leaks and Functionality
Pressure testing the system
After assembly, pressure testing your cooling system is crucial to check for leaks. Use a cooling system pressure tester to pressurize the system to the recommended level and hold for the specified time. Look for any drops in pressure or signs of coolant leakage.
Identifying and fixing leaks
If you detect a leak, locate its source. It may be at a connection point, in the radiator, or near the water pump. Once located, remedy the leak by tightening connections, replacing faulty hoses, or sealing leaks following the manufacturer’s recommendations.
Ensuring circulation and flow
To verify proper circulation, run the engine until it reaches operating temperature and check that the thermostat opens and coolant flows through the radiator. Monitor the temperature gauge to ensure the engine maintains a consistent temperature within the normal range.
Coolant System Maintenance
Routine checks and inspections
Regular inspections of your coolant system are essential. Check coolant levels, inspect hoses and connections for signs of wear or leaks, and monitor the condition of the radiator and overflow tank for cracks or damage.
When to replace coolant fluid
Coolant should be replaced according to your vehicle’s maintenance schedule, typically every 2-5 years. Old coolant can become acidic and lose its protective properties, leading to corrosion and damage to the cooling system.
Cleaning and flushing the system
Flushing your cooling system is recommended when changing the coolant. This removes old fluid, debris, and any sediment, ensuring that the new coolant can work effectively. Use a flushing agent recommended for your system and make sure to thoroughly rinse the system with water before adding new coolant.
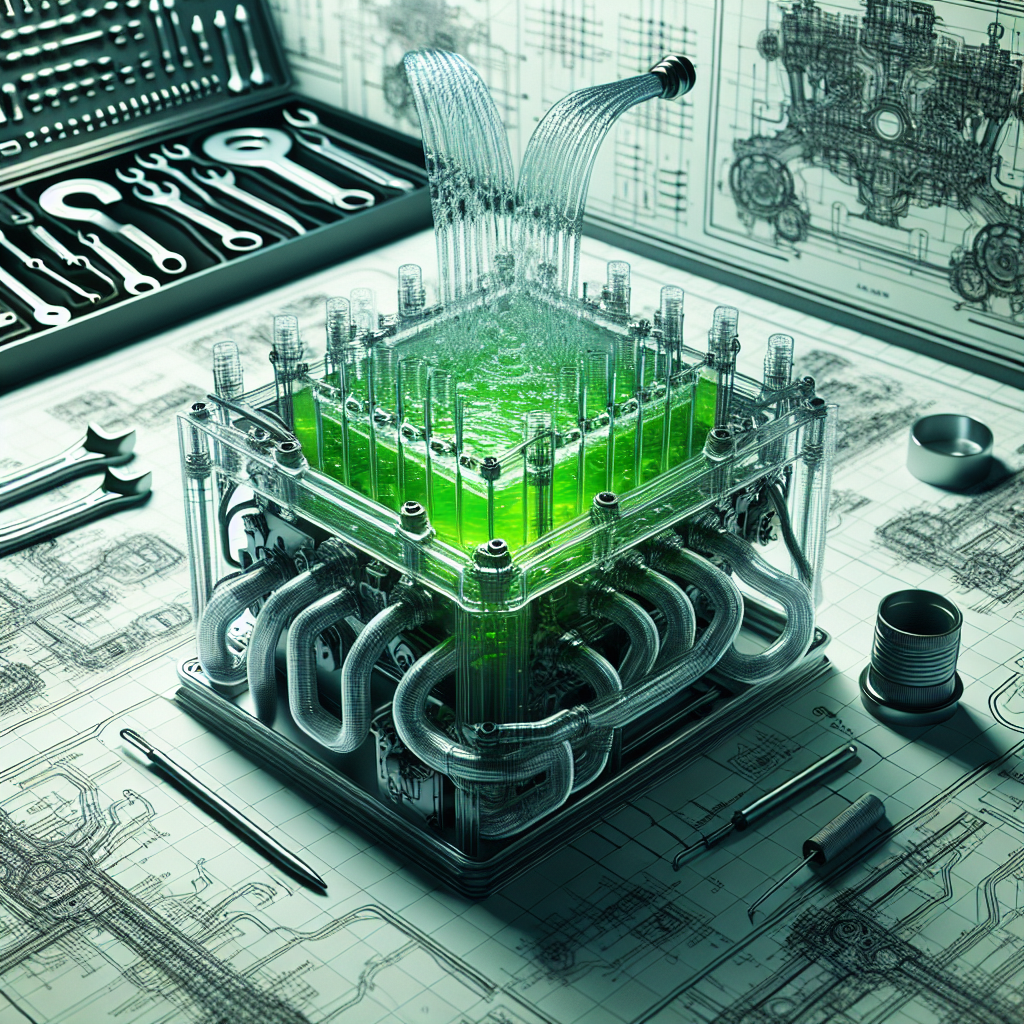
Troubleshooting Common Issues
Overheating and remedies
If your engine is overheating, check for low coolant levels, a stuck thermostat, clogged radiator, or failed water pump. Addressing these issues quickly can prevent engine damage. Always let the engine cool before opening the coolant system to avoid burns from hot fluid or steam.
Clogs and obstructions
Clogs in the cooling system can restrict flow and cause overheating. Flushing the system can remove these clogs. Regular maintenance checks can also prevent buildup of debris that can lead to obstructions.
Pump failures and fixes
A failing water pump may leak, make noise, or fail to circulate coolant effectively. Replacing the water pump involves draining the system, removing the old pump, and installing a new one, making sure to observe the correct torque specifications and alignment.
Environmental Considerations and Coolant Disposal
Eco-friendly coolant options
Environmentally friendly coolants are available that are less toxic and more biodegradable than traditional coolants. Consider using these products to reduce your environmental impact.
Legal requirements for disposal
Antifreeze and used coolant must be disposed of properly due to their toxic components. Never pour it down the drain or onto the ground. Check with your local waste disposal service or recycling center for guidelines on disposing of automotive fluids.
Recycling and reusing coolant
Some facilities can recycle used coolant, removing contaminants and restoring its protective properties. This process reduces environmental impact and can be a cost-effective alternative to purchasing new coolant. Investigate recycling options in your area for environmentally responsible maintenance practices.
By understanding these principles and following the outlined steps, you can confidently tackle your coolant system configuration. Regular maintenance, proper disposal, and being eco-conscious will keep your vehicle running smoothly and help protect the environment.

